使用 Python 生成《红楼梦》词云

本文介绍如何使用python绘制《红楼梦》的词云。
“词云”就是对网络文本中出现频率较高的“关键词”予以视觉上的突出,形成“关键词云层”或“关键词渲染”,从而过滤掉大量的文本信息,使浏览网页者只要一眼扫过文本就可以领略文本的主旨。
“词云”——网络内容发布新招式 .人民网
0.摘要
本文建议在电脑上打开,边阅读边操作。
- 安装python词云工具wordcloud,画图软件matplotlib
- 准备红楼梦文本
- 编写python代码并运行
- 展示词云结果
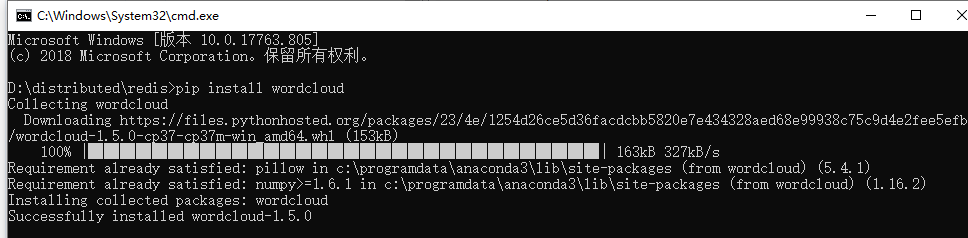
1.安装wordcloud
可以在cmd窗口输入1
2
3
4
5
6
7
8
9
10
11
12
13
14
15
16
17
18
19
20
21
22
23
24
25
26
27
28
29
30
## 2.准备红楼梦文本
文本可以用下面链接下载
`https://github.com/flypythoncom/flypython/blob/master/wordcloud_hlm_seg.txt`
或者可以自己写代码,对文本进行清洗,分词。
这里需要安装jieba分词,`pip install jieba`
``` python
import jieba
import re
special_character_removal = re.compile(r'[,。、【 】“”:;()《》‘’{}?!⑦%>℃.^-——=&#@¥『』]', re.IGNORECASE)
fw=open("hlm_seg.txt","w",encoding="utf-8")
with open('hlm.txt',encoding="utf-8") as fp:
for line in fp:
l = special_character_removal.sub('', line.strip())
words=jieba.cut(l)
t=" ".join(words)
fw.write(t)
fw.write("\n")
fw.close()
3. 编写词云python代码并运行
1 | from os import path |
结果:
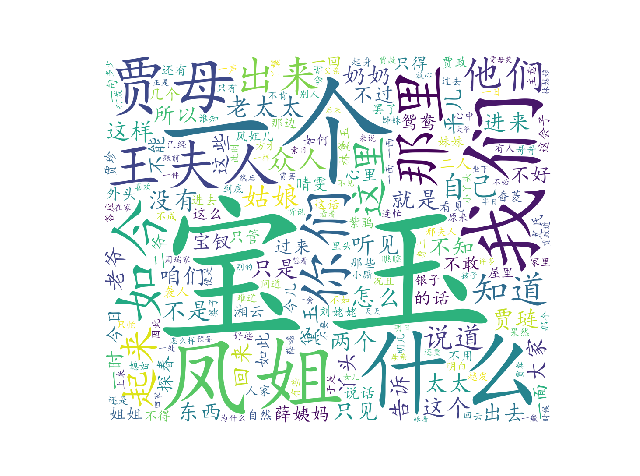
后台回复“词云”获得完整运行代码
人生苦短,我用python早下班。如果觉得不错,对你工作中有帮助,请加我微信公众号flypython,我们一起探讨python相关问题
